Restoring a Commodore 64: Part 1
After rescuing and restoring a lovely Amiga 500, I decided to look for another old computer to restore. Commodore 64 machines are still relative cheap in the second hand market, specially when announced in unknown condition.
So it’s time to test and fix this lovely breadbin Commodore 64, which is almost as old as I am!

First symptoms
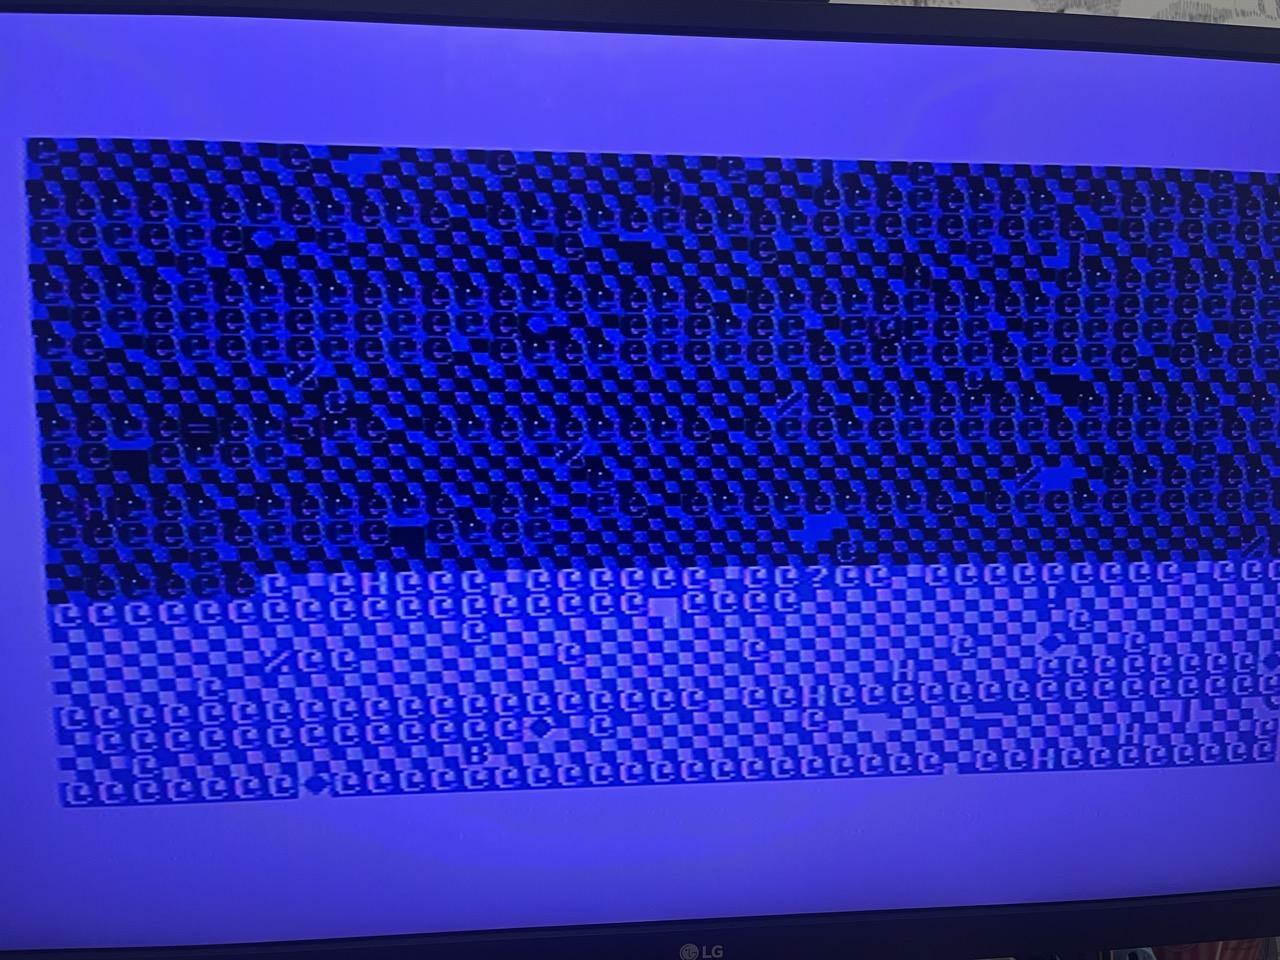
The machine has an intermittent boot issue. Sometimes it boots normally, sometimes it shows a black screen, and sometimes it produces random characters on the display.
This kind of behavior points to an almost dead PLA, which is a very common failure on the C64. Fortunately, the community has reverse engineered this logic array and created open hardware replacements.
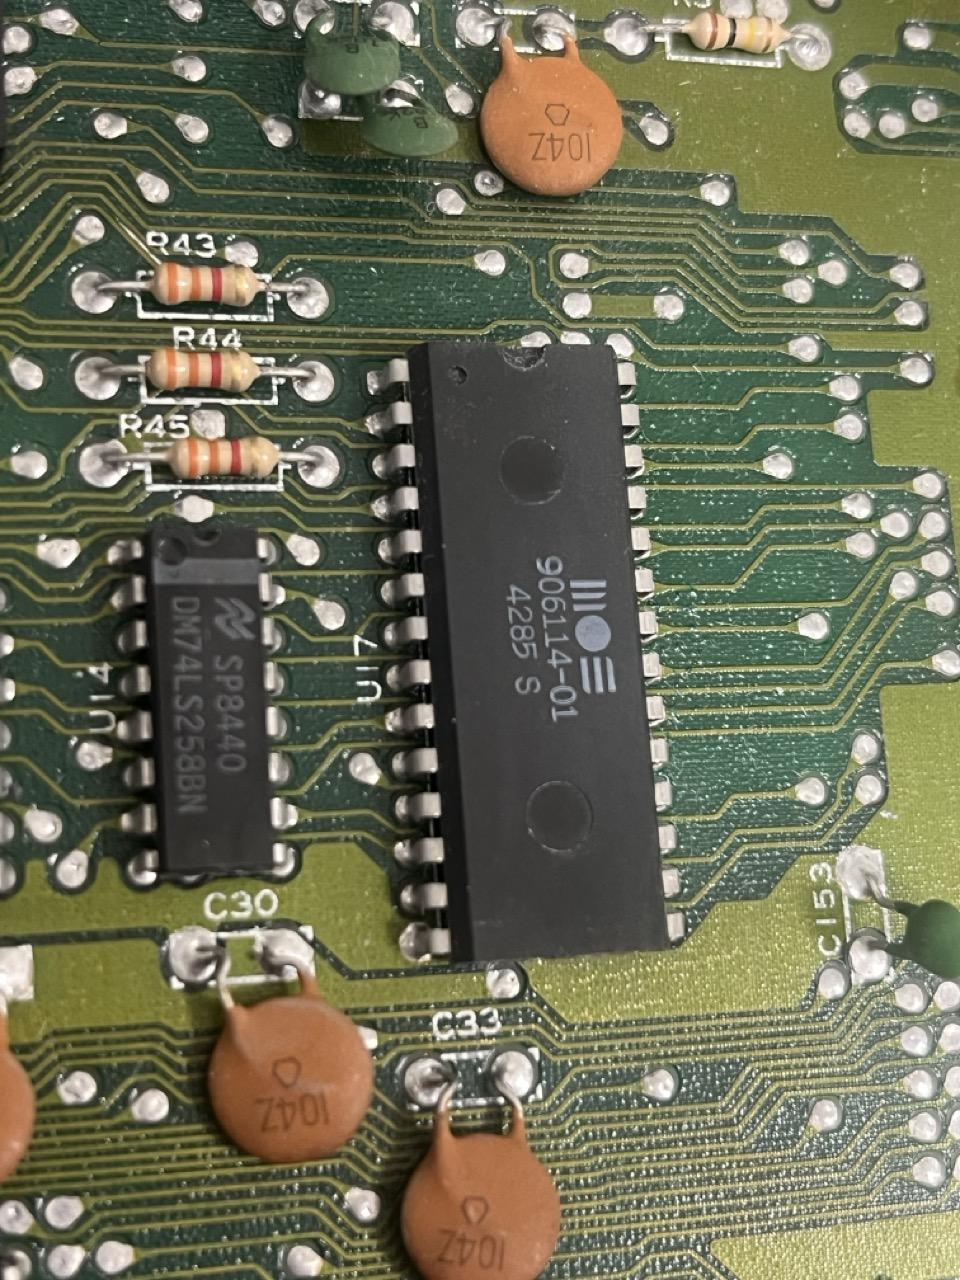
Replacing the PLA
First step, remove the original PLA from the board.
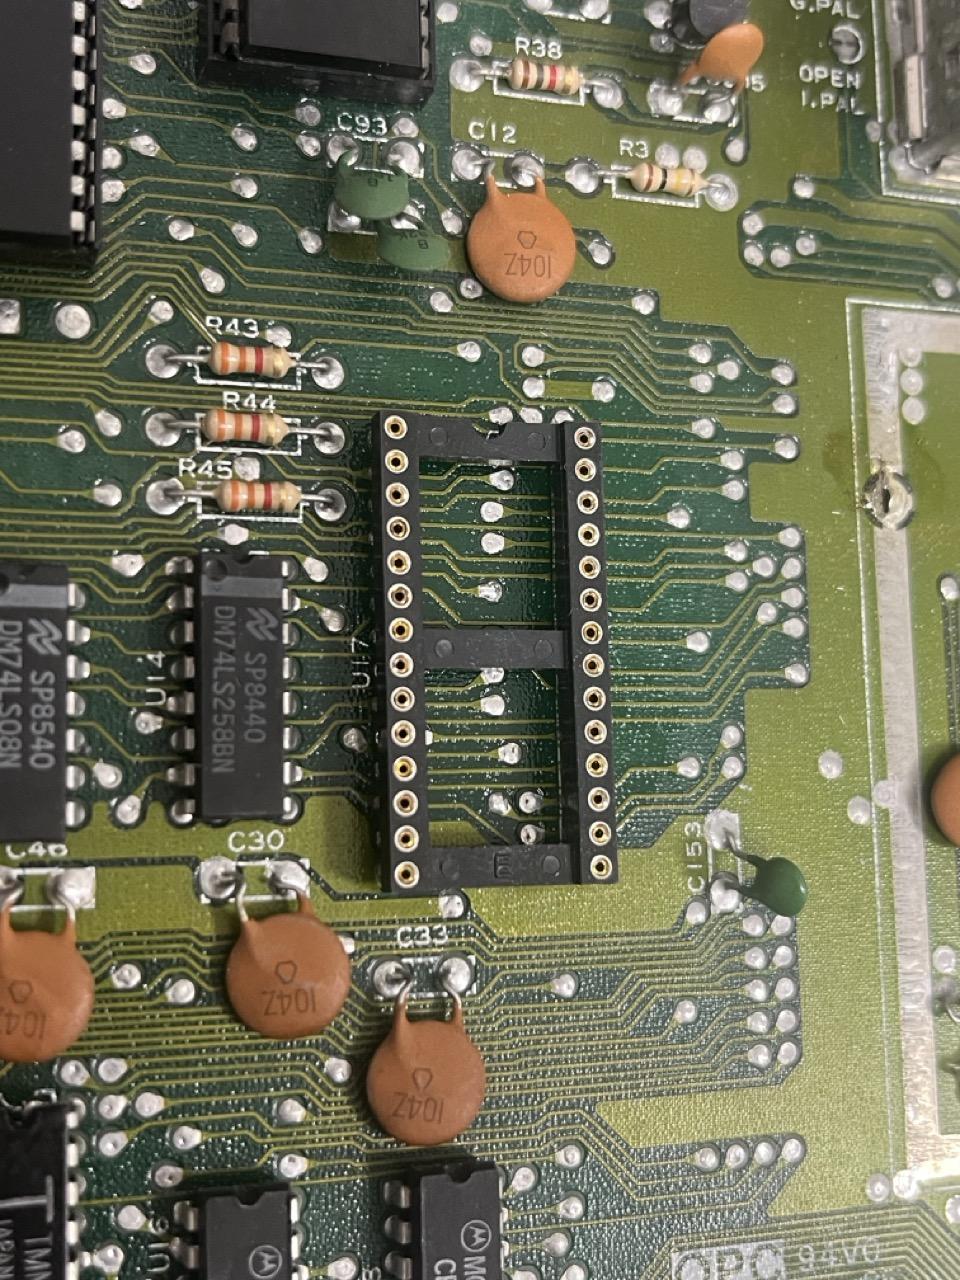
Rather than soldering the replacement directly to the board, I installed a socket so it can be easily swapped in the future.
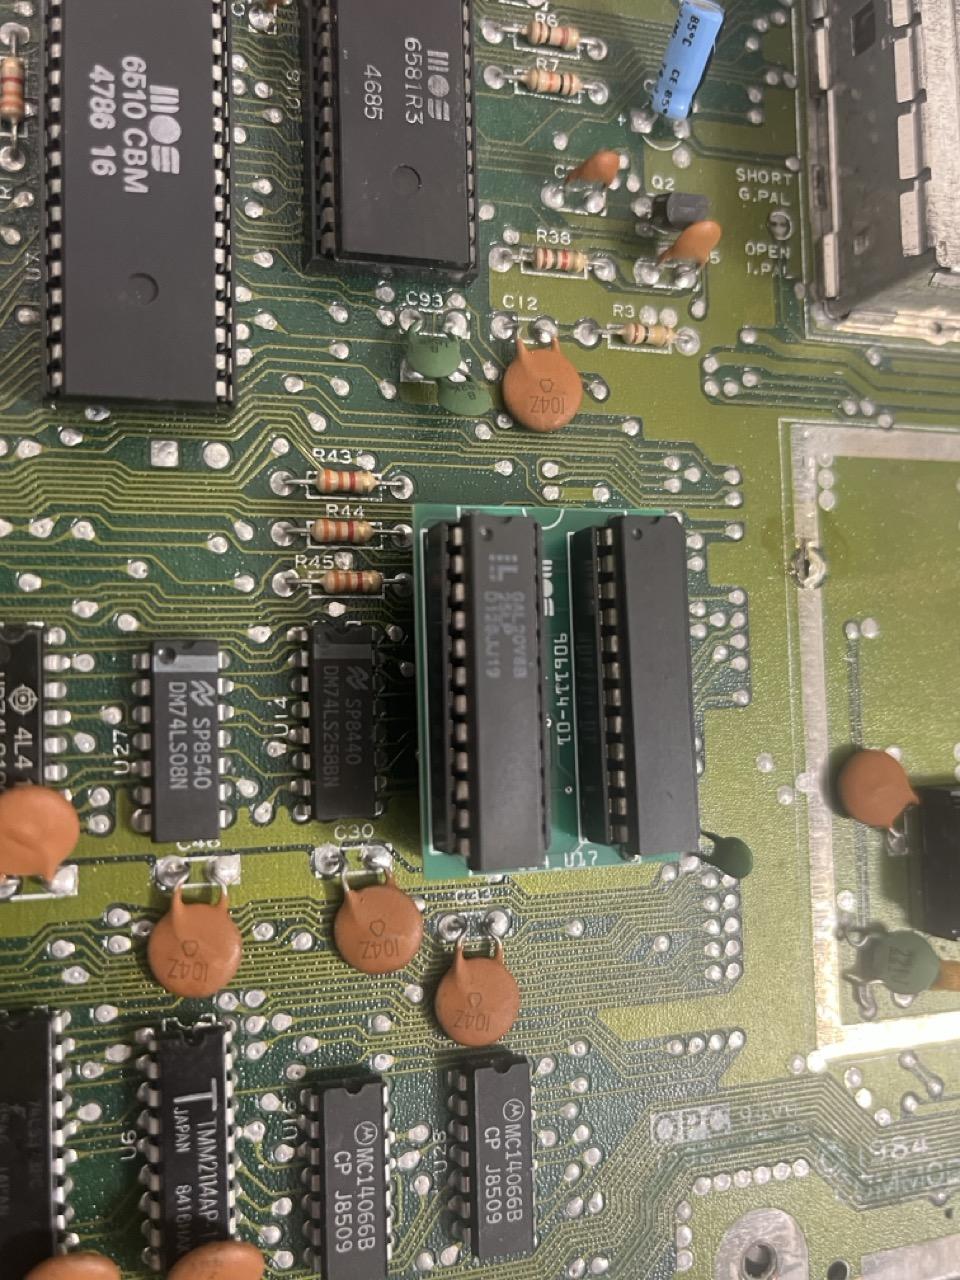
And here’s the new PLA, based on Daniël Mantione’s design, sitting in its new socket.
The real culprit
With the new PLA in place, I powered on the machine and… it’s still failing, with the same symptoms. The PLA wasn’t the problem after all.
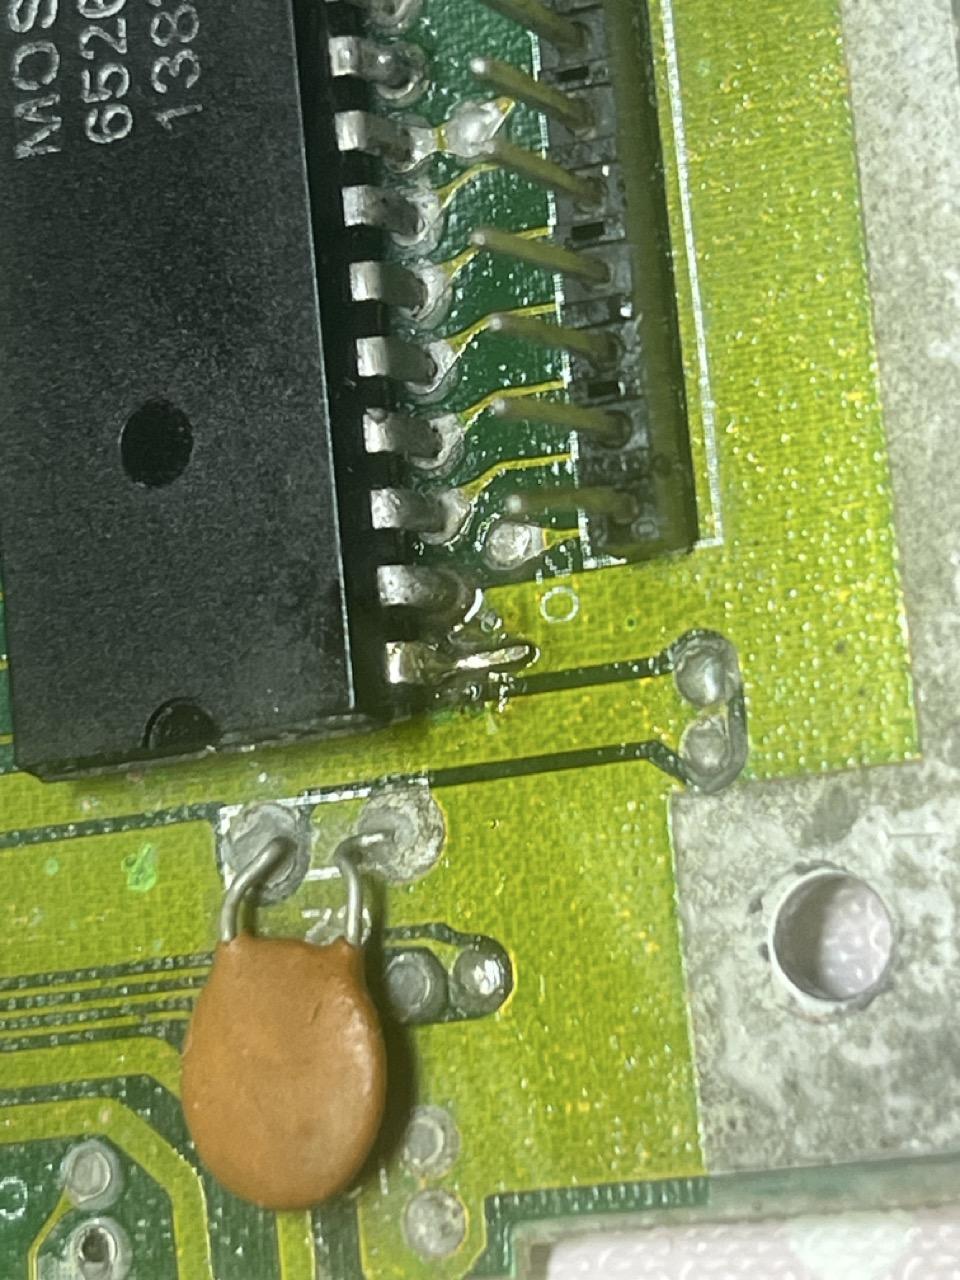
This time, instead of looking for match for the symptoms online, I decided to use my own eyes to take a closer visual inspection of the board. I noticed some ugly looking solder joints on the first CIA. Applying some pressure on the chip got the machine working, and releasing it made the cursor stop blinking (lost interrupts?). In any case, I was definitely on to something!
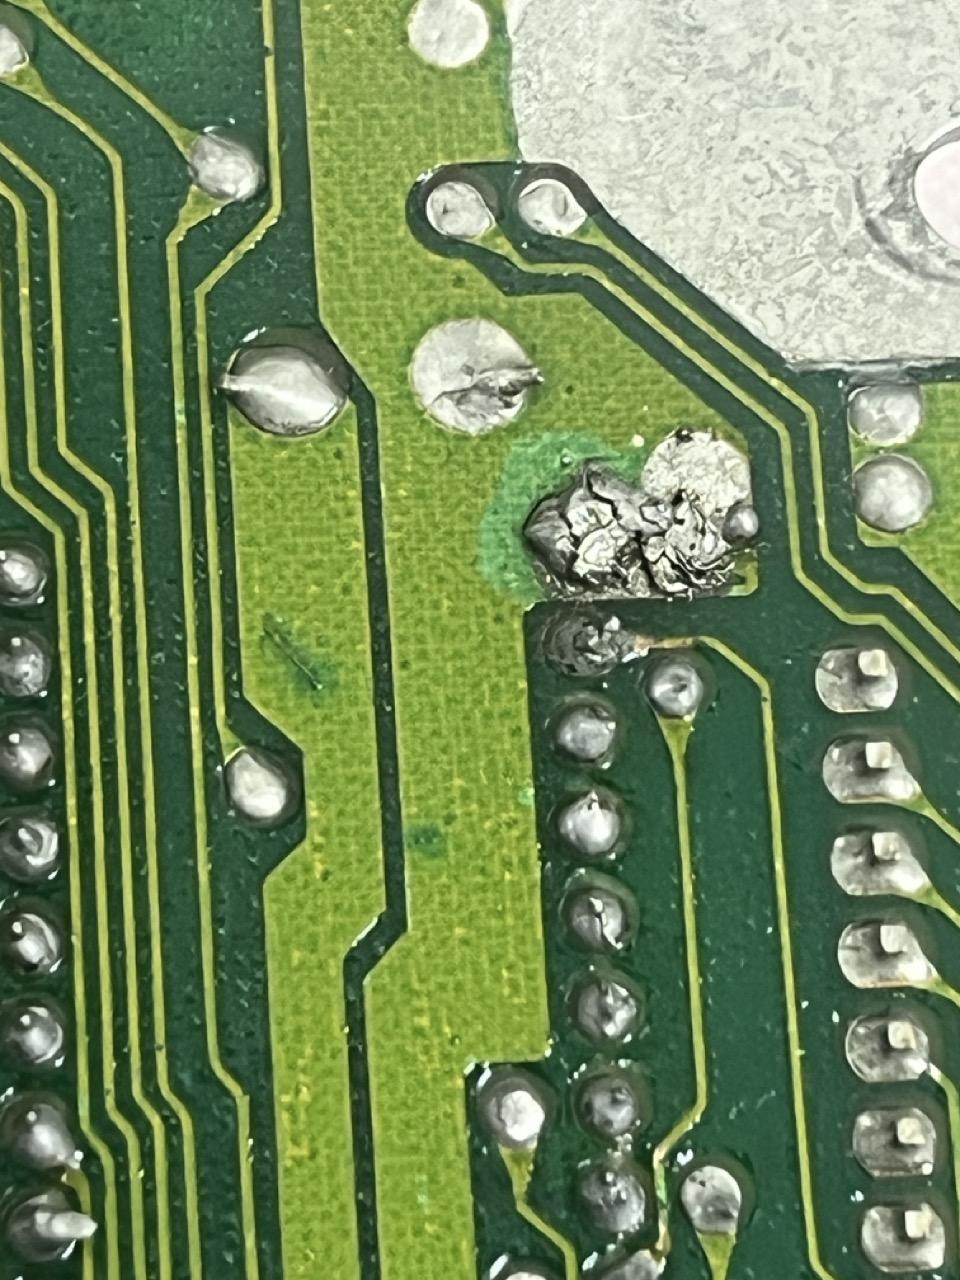
While removing the old solder from the CIA to redo the joints, I discovered something unexpected: one of the CIA’s legs was laying on the wrong side of the PCB, instead of going through the hole. WTH???
I believe this defect is original from the factory. The solder looks old with no signs of rework. Enough solder must have flowed through to make a good-enough connection, but after ~40 years it degraded to the point of becoming intermittent.
Fixing it
After some serious convincing from my part on to the PCB, I managed to get the replacement leg through the pin hole, finally getting a happy C64 that boots properly every time!

The PLA replacement turned out to be unnecessary, but since it’s a component that’s expected to fail eventually, I’m calling it future-proofing.
What works and what doesn’t
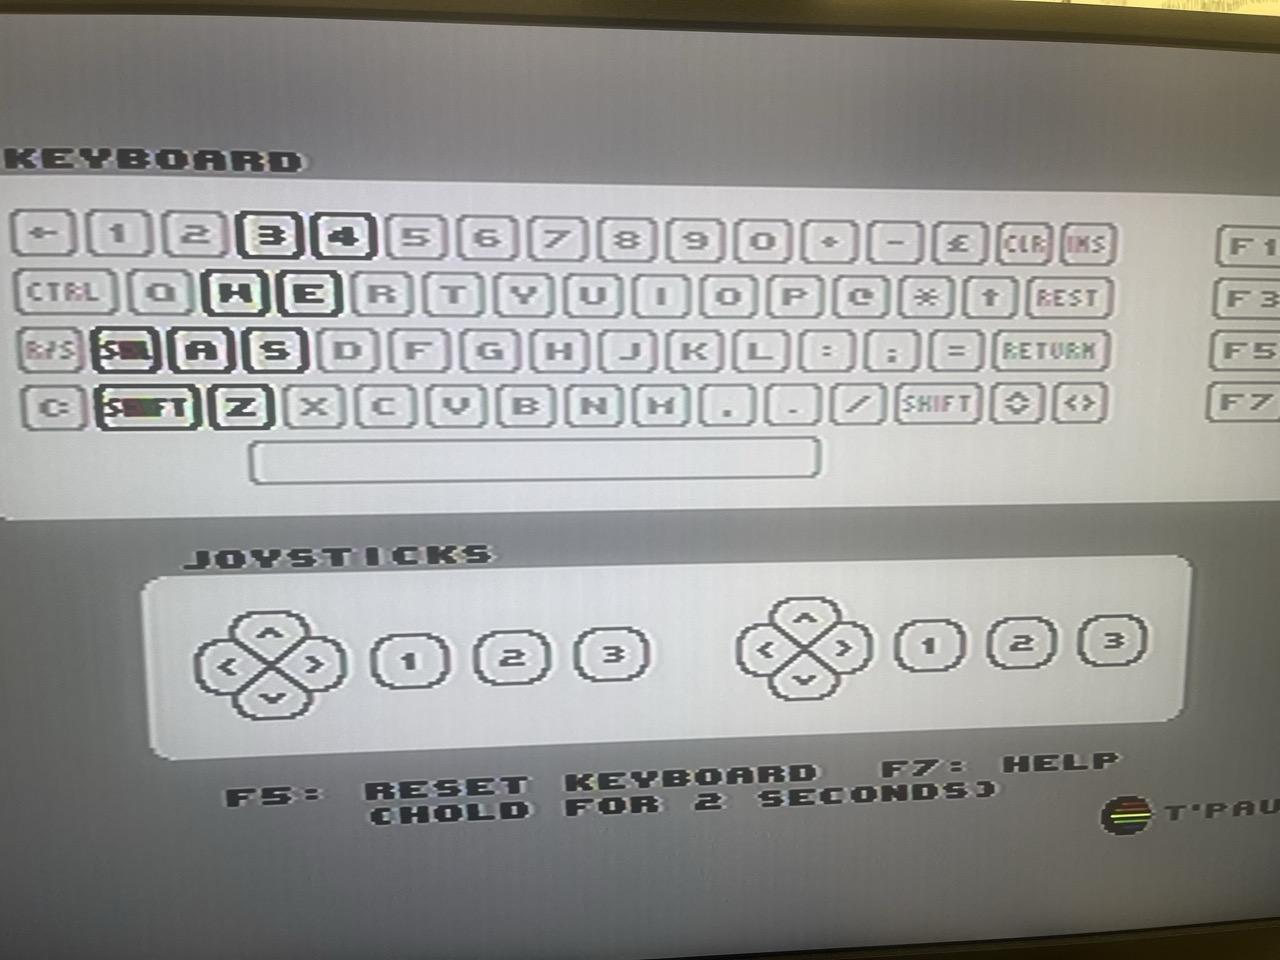
Everything seems to work fine, including the SID, except for two columns of keys that don’t register any input. I suspect a broken trace or a bad solder joint somewhere, but that’s a problem for another day.
To be continued…