Adventures with an Amiga 500: Part 2 - What it works and what it doesn't
At the end of part 1 we had a clean Amiga 500, both in the inside and the outside, which we couldn’t test because the power supply that came with it was broken.
With a brand new power supply here, it’s time to find out what it works and what it doesn’t.
The first boot
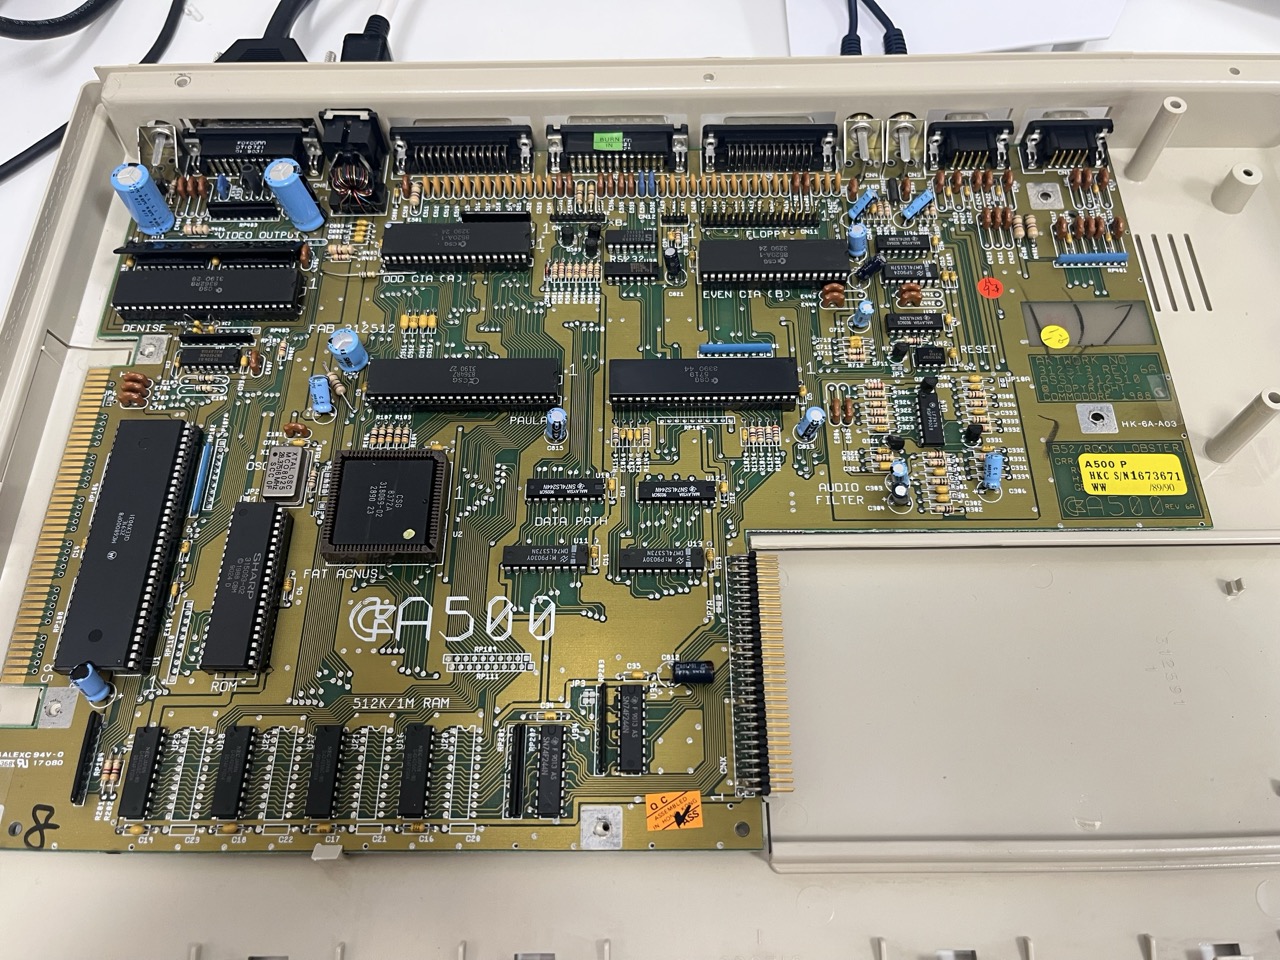
Okay, so with the power supply plugged in, and the video output connected to an HDMI scaler, it’s time to cross the fingers and turn on the power switch…
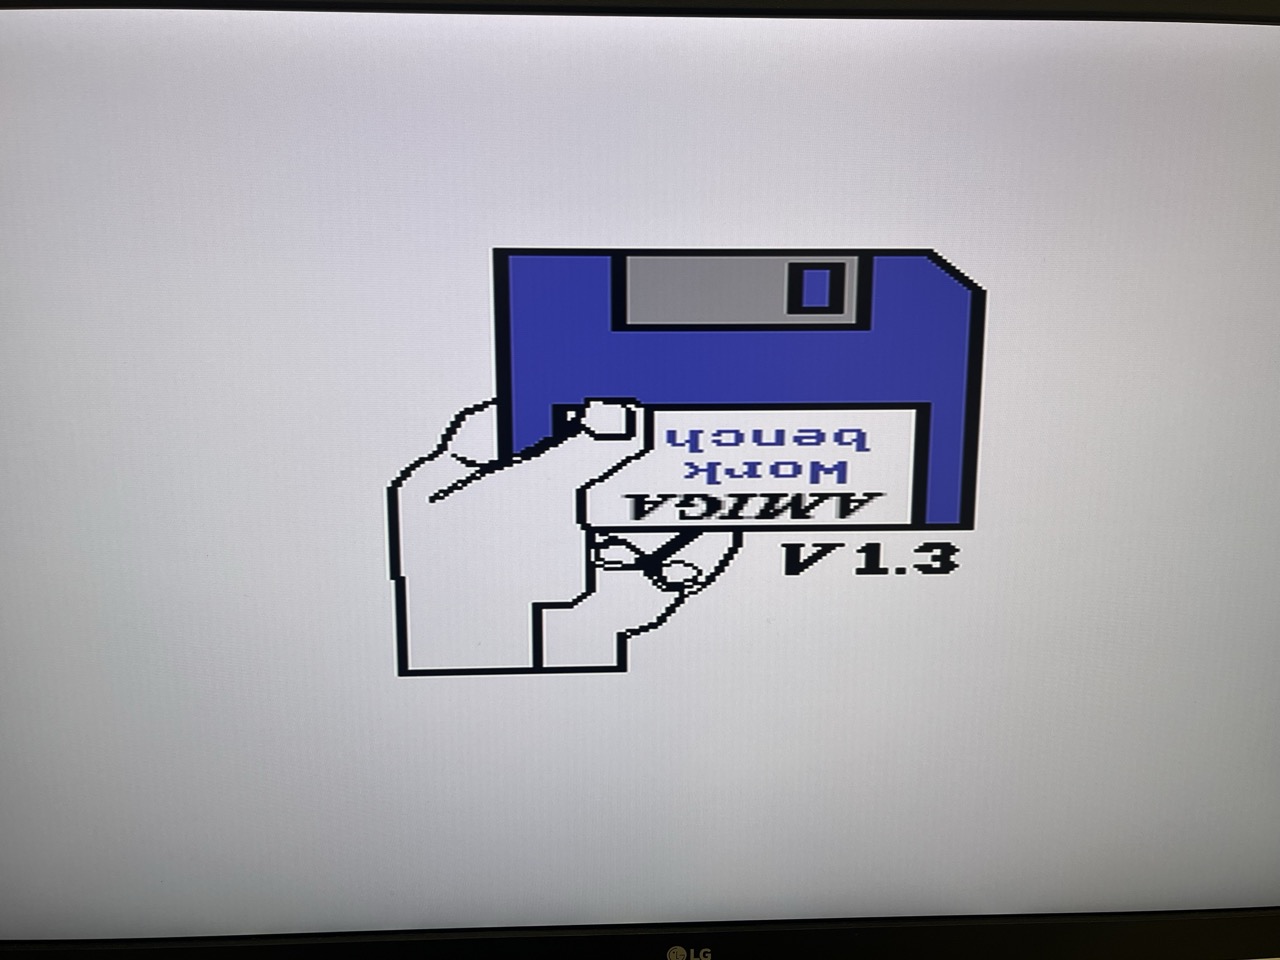
And voilà, we have video output and the machine booted all the way to Kickstart 1.3! The floppy drive also made some seek noises, so the CPU, Paula, Denise and Agnus appear to work fine (or, at least, good enough to drive the machine to that state).
Running some tests
Since and don’t have floppies nor a way to write to them from my laptop, I bought a Gotek USB internal drive emulator. This allows you to copy a bunch of floppy images into a USB memory stick, plug it into the Gotek drive, and have the Amiga read them as if they were real floppies.
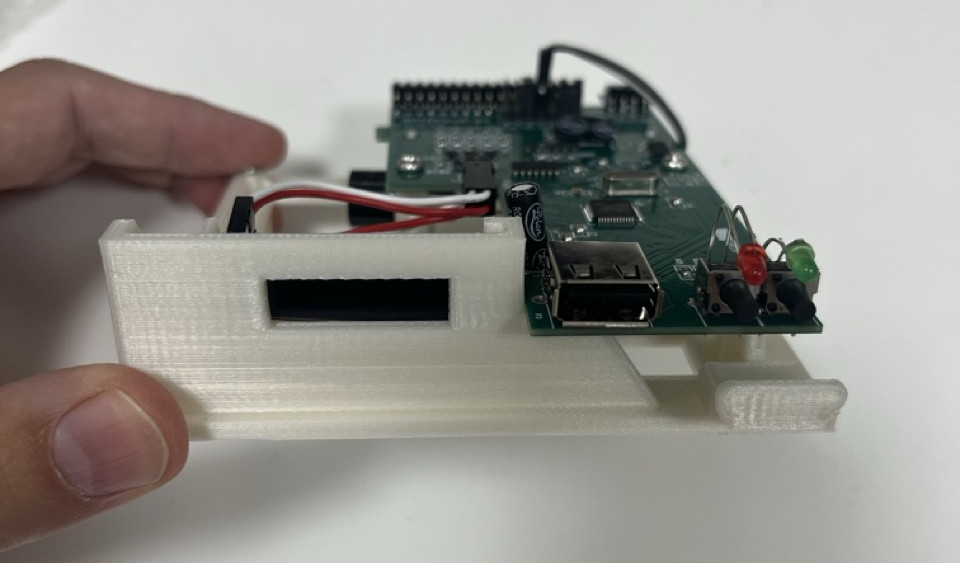
I loaded the excellent Amiga Test Kit into the USB memory stick (there’s an ADF image in the zip), inserted the USB stick into the Gotek, and turned on the Amiga 500.
Every test I tried worked just fine, including those testing the low-pass audio filter (which I was worried could be broken due to the faulty power supply), except for one. The lower left section of the keyboard was pretty much dead.
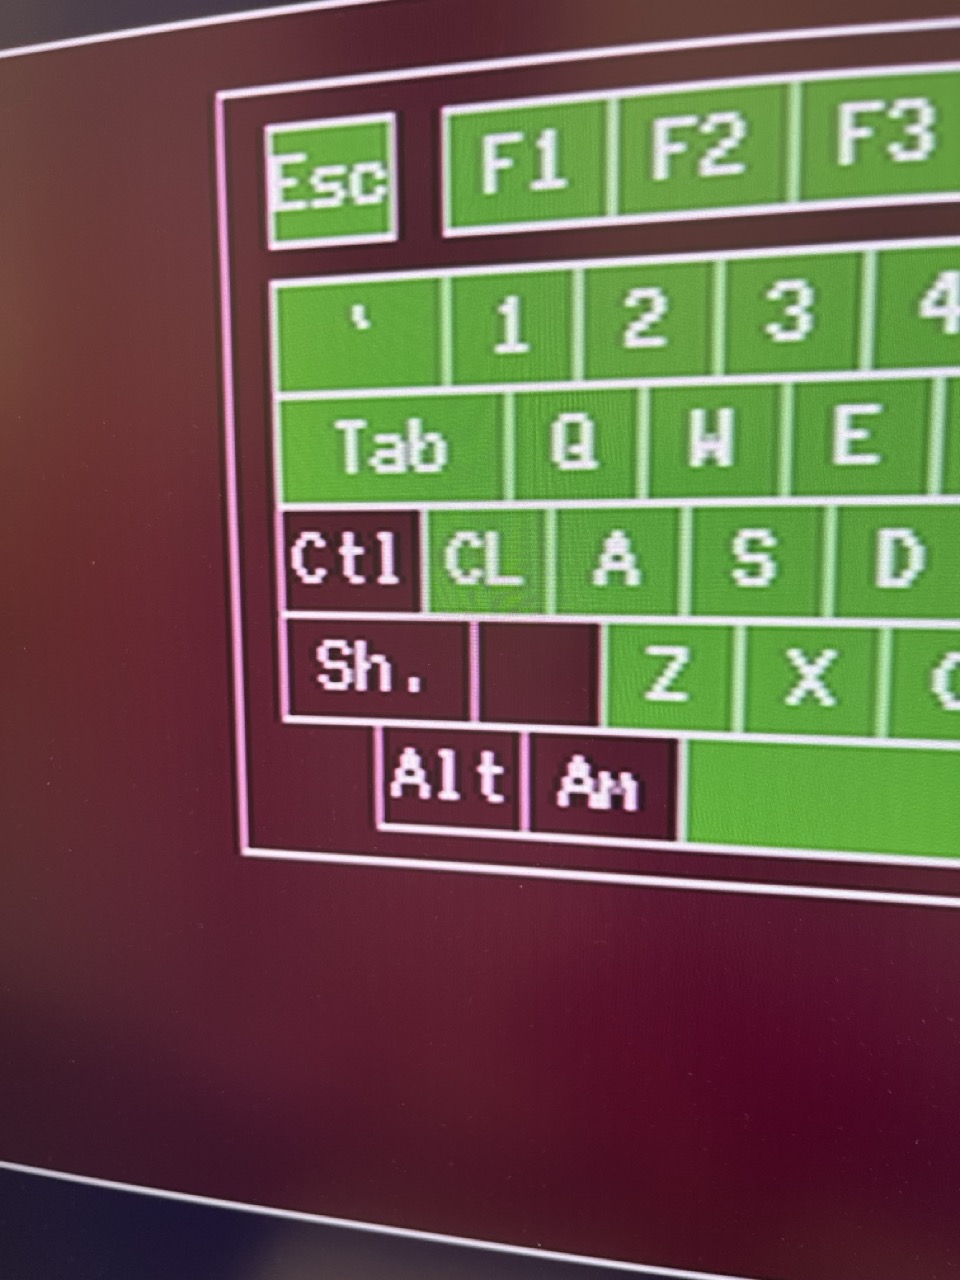
Something in the keyboard membrane is definitely wrong. Which is surprising, because on the initial visual inspection I did while cleaning up the machine I couldn’t find any obvious issues. But it’s also true that corrosion on this kind of traces may be very hard to detect.
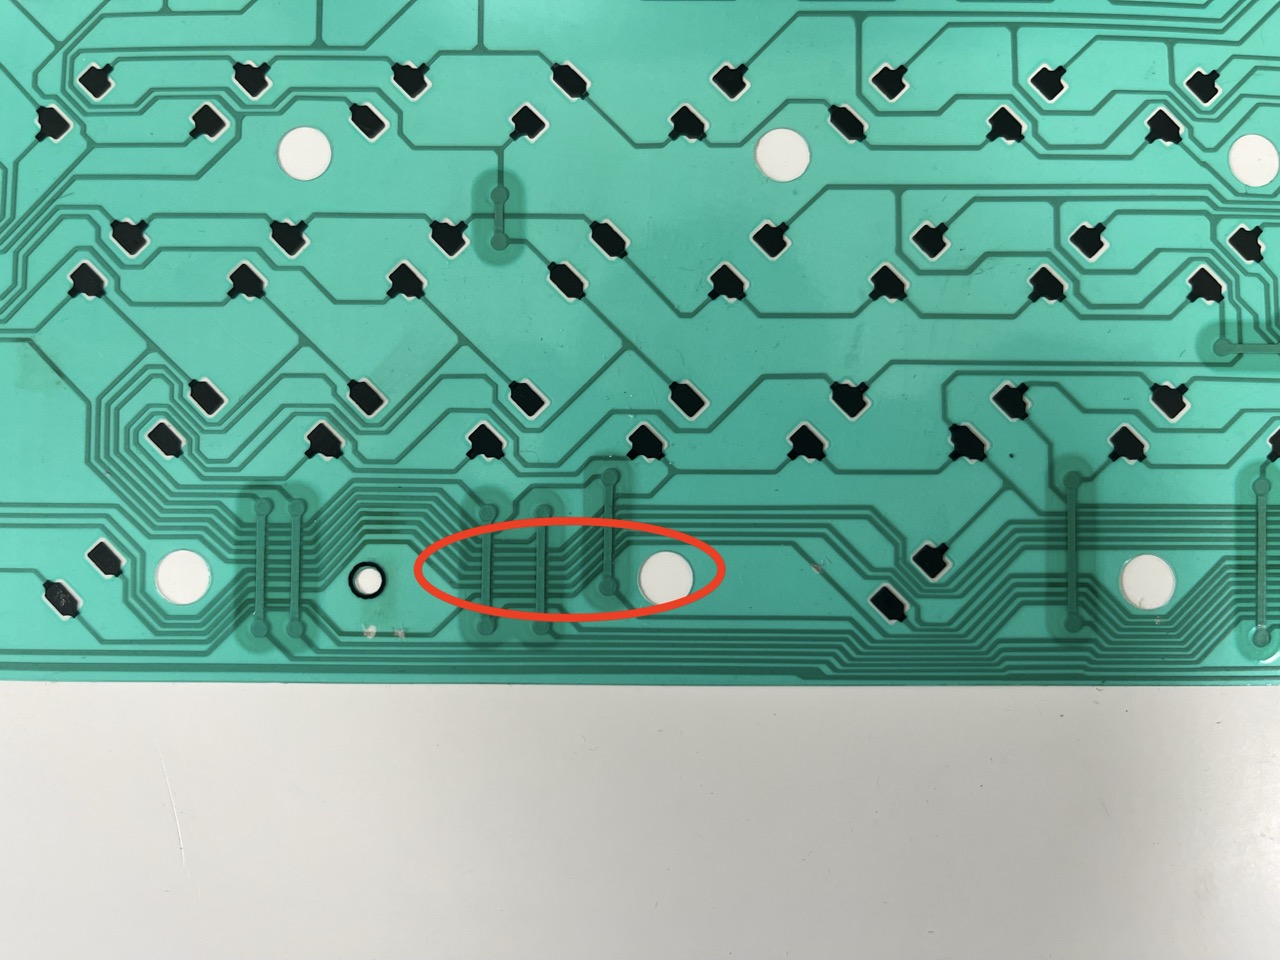
I disassembled the keyboard again to inspect the membrane, and found out one particular trace was broken at this point, even though I couldn’t find any obvious interruptions in the line (the scrathed points are done or purpose to test the trace). This is pretty bad news, as it probably means time and corrosion are taking their toll on the membrane.
Strictly speaking, I could run a bodge wire to fix the trace, but since replacement membranes are still produced, and this kind of fault of very likely to get propagated to other traces sooner or later, I decided to simply replace it with a brand new one.
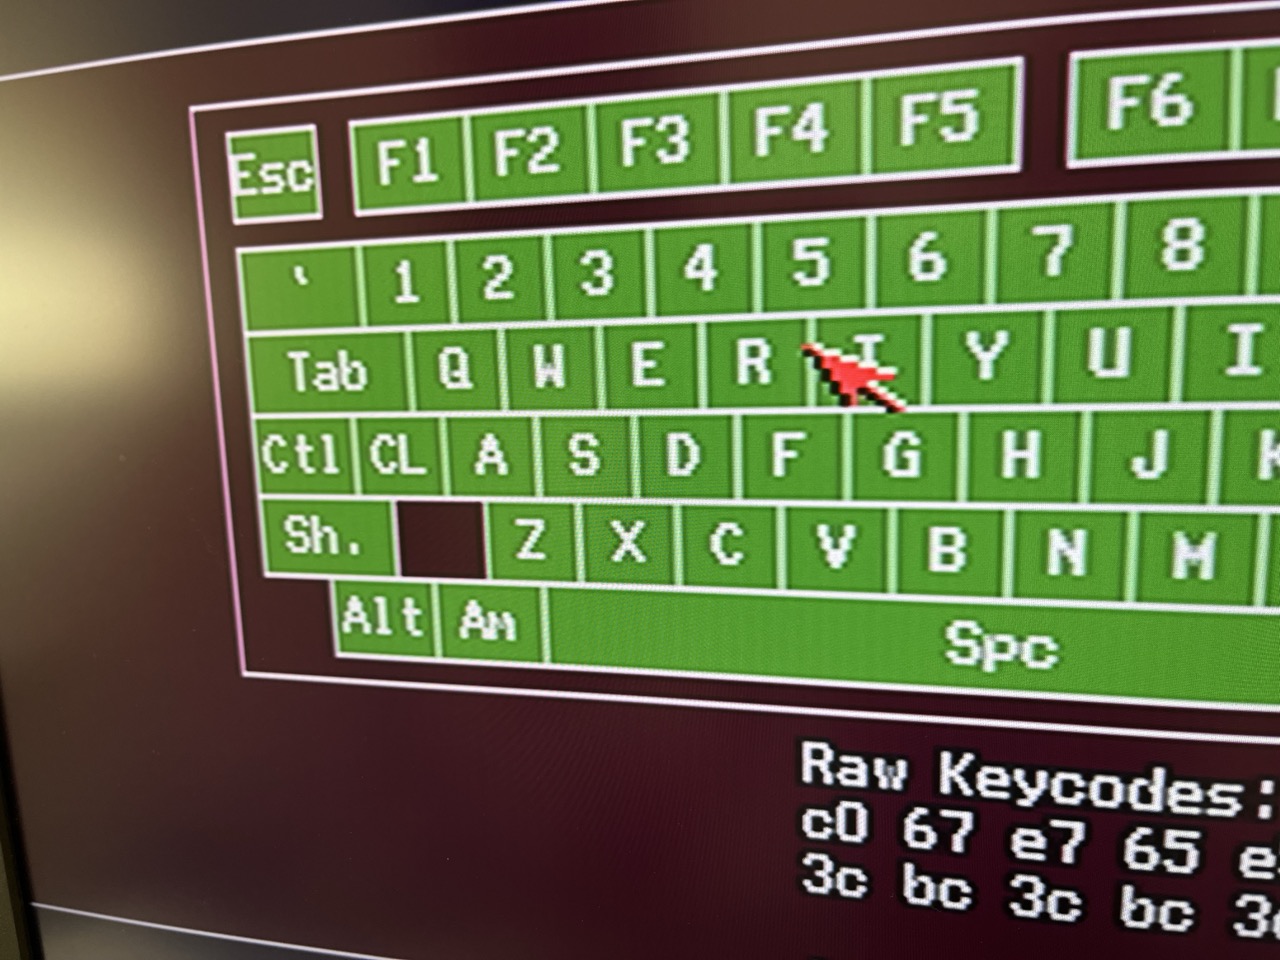
With the new membrane in place, we have a fully working keyboard.
Next steps
Now that we know the Amiga 500 is working fine, it’s time to start pimping it up. We’ve already replaced the original floppy drive with a Gotek emulator (which hurts a bit the aesthetics, so I may eventually restore the original drive), but there’s so much we can do:
-
Upgrade Chip RAM: The board has 512 KB of Chip RAM, which falls a little sort for running some games. Luckily, on this board revision we can do a relatively simple mod to turn Slow RAM installed in the trapdoor expansion into Chip RAM, up to 1 MB. The machine already came with a Slow RAM expansion board, but I want to replace it with one that also has a battery-backed Real-Time Clock.
-
Install an RGB2HDMI board: I don’t have any TVs nor monitors with SCART input at home, and while one of them (specially a CRT) would make the experience much closer to the original, is very unlikely that I would find a place to put it. Upscalers are fine for testing, but the video quality is poor and there’s a noticeable amount of latency. Luckily, there’s the option to install a board that snoops video data directly from Denise and, which the help of a Raspberry Pi Zero, outputs it via HDMI. Jan Beta has a nice video showing how it works.
-
Upgrade Kickstart: Kickstart 1.3 is fine for running most games, but I want to be able to use Workbench 3.x, and that requires a Kickstart 3.x. Also, with WHDLoad you don’t really need to stay in 1.3 to be able to run early games.
-
Install an accelerator: The 68000 at 7 Mhz can do some nice tricks, but a little more raw power really helps making the machine more fun to use. Also, some accelerators come with additional Fast RAM and an IDE interface to attach a real drive or, more commonly, an IDE-to-CompactFlash adaptor.
To be continued…